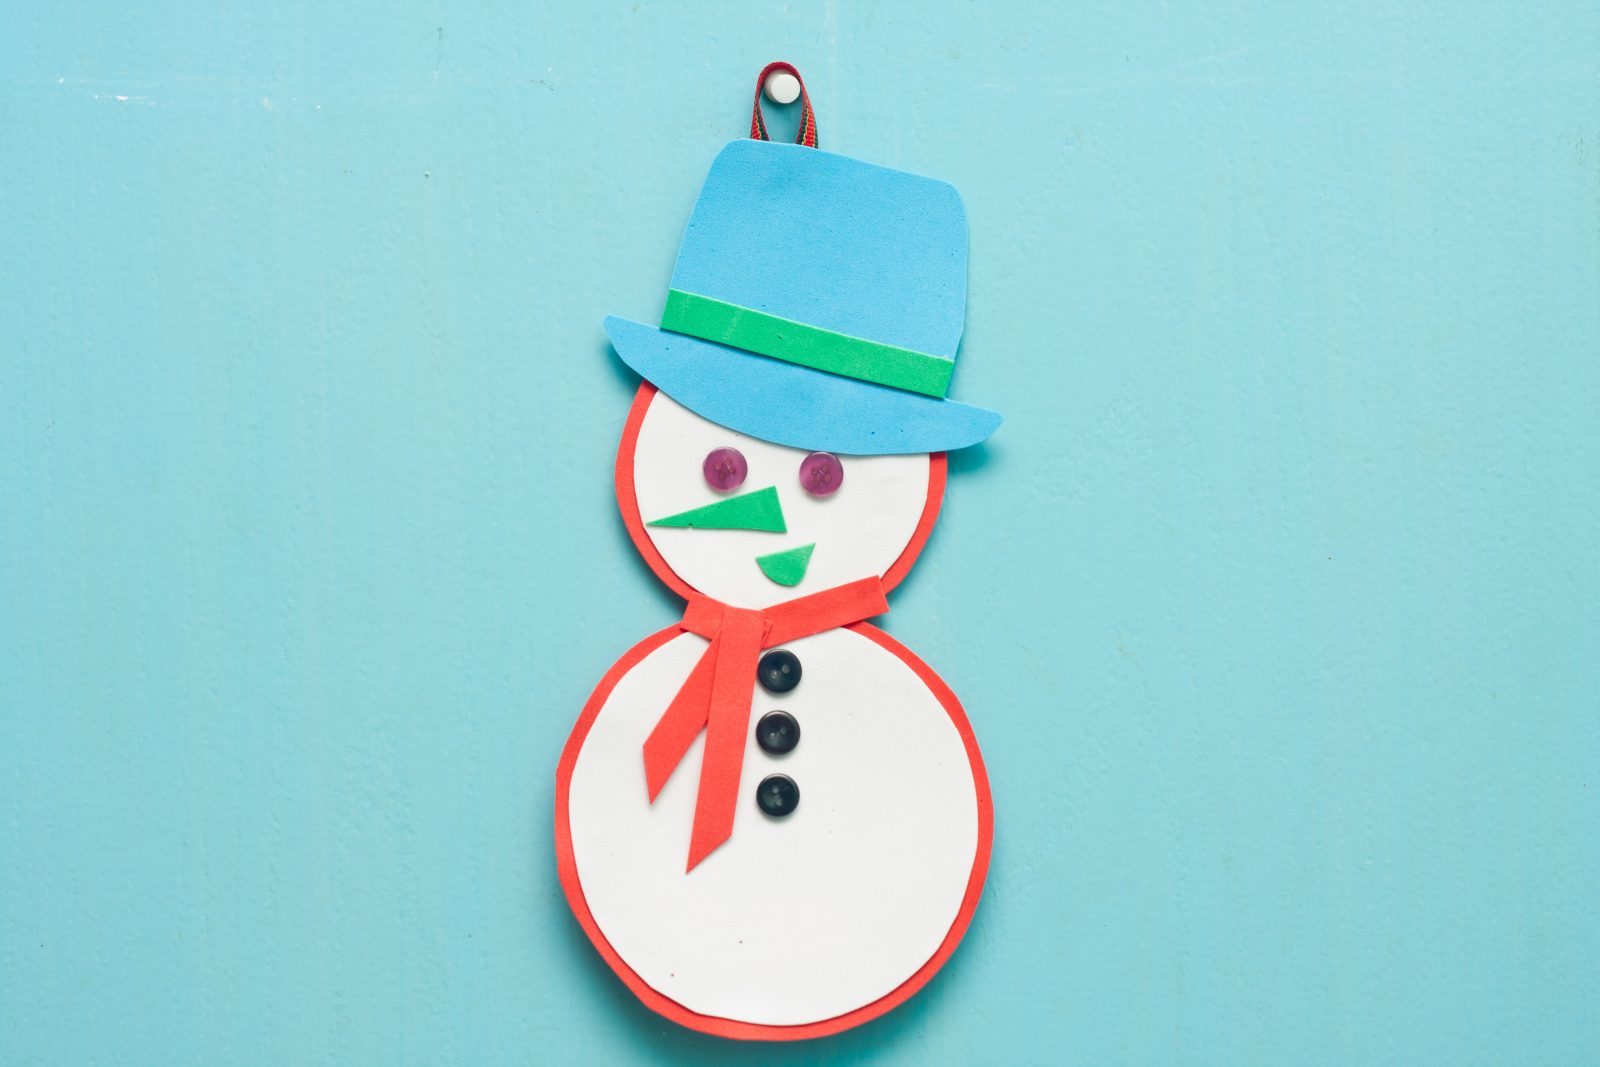
Create a Cute Snowman Door Decor
When Christmas is just around the corner, we commonly decorate our living room or moreover, we do some decorations in front of our house. At times, we tend to forget to decorate the doors of our room. This will be a cute activity that will add a twist and life in your plain doors this Christmas.

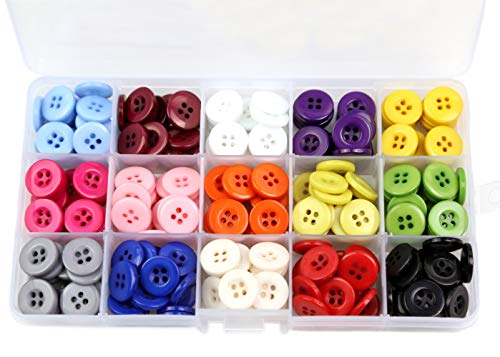
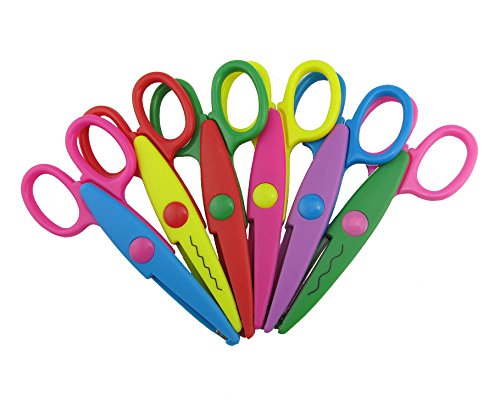
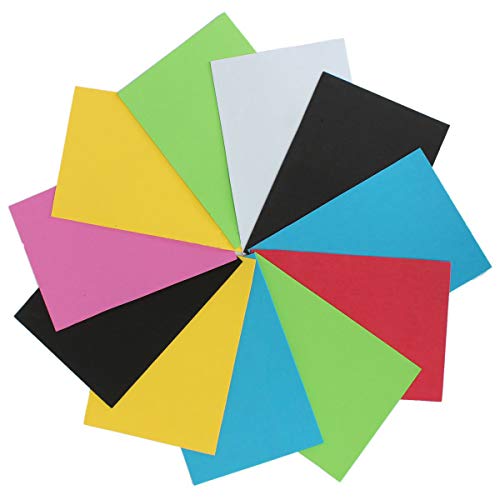
Step 1: (door decor photo 1) Prepare all the materials from the list:
Pencil
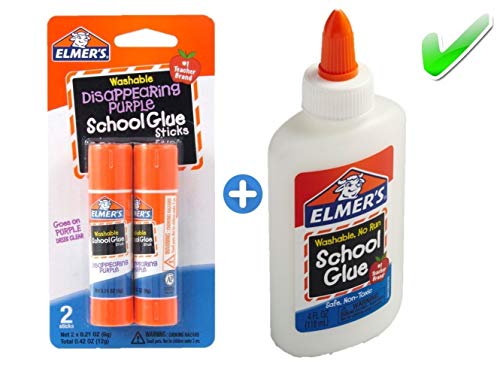
Hot glue

Concrete glue
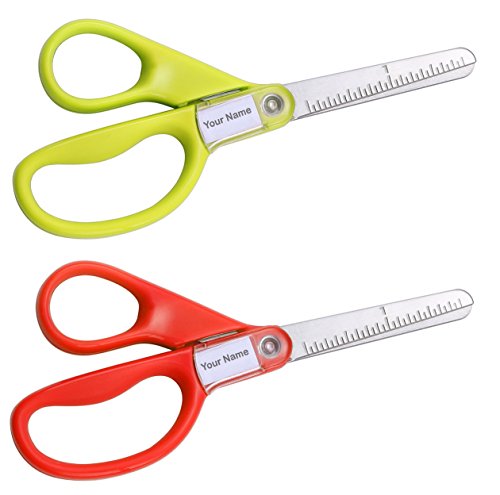
Scissors
2 buttons of the same color and 3 pieces of black medium button
Craft scissors
A piece of ½ centimeter thick ribbon

Red, blue, green and white sponge paper
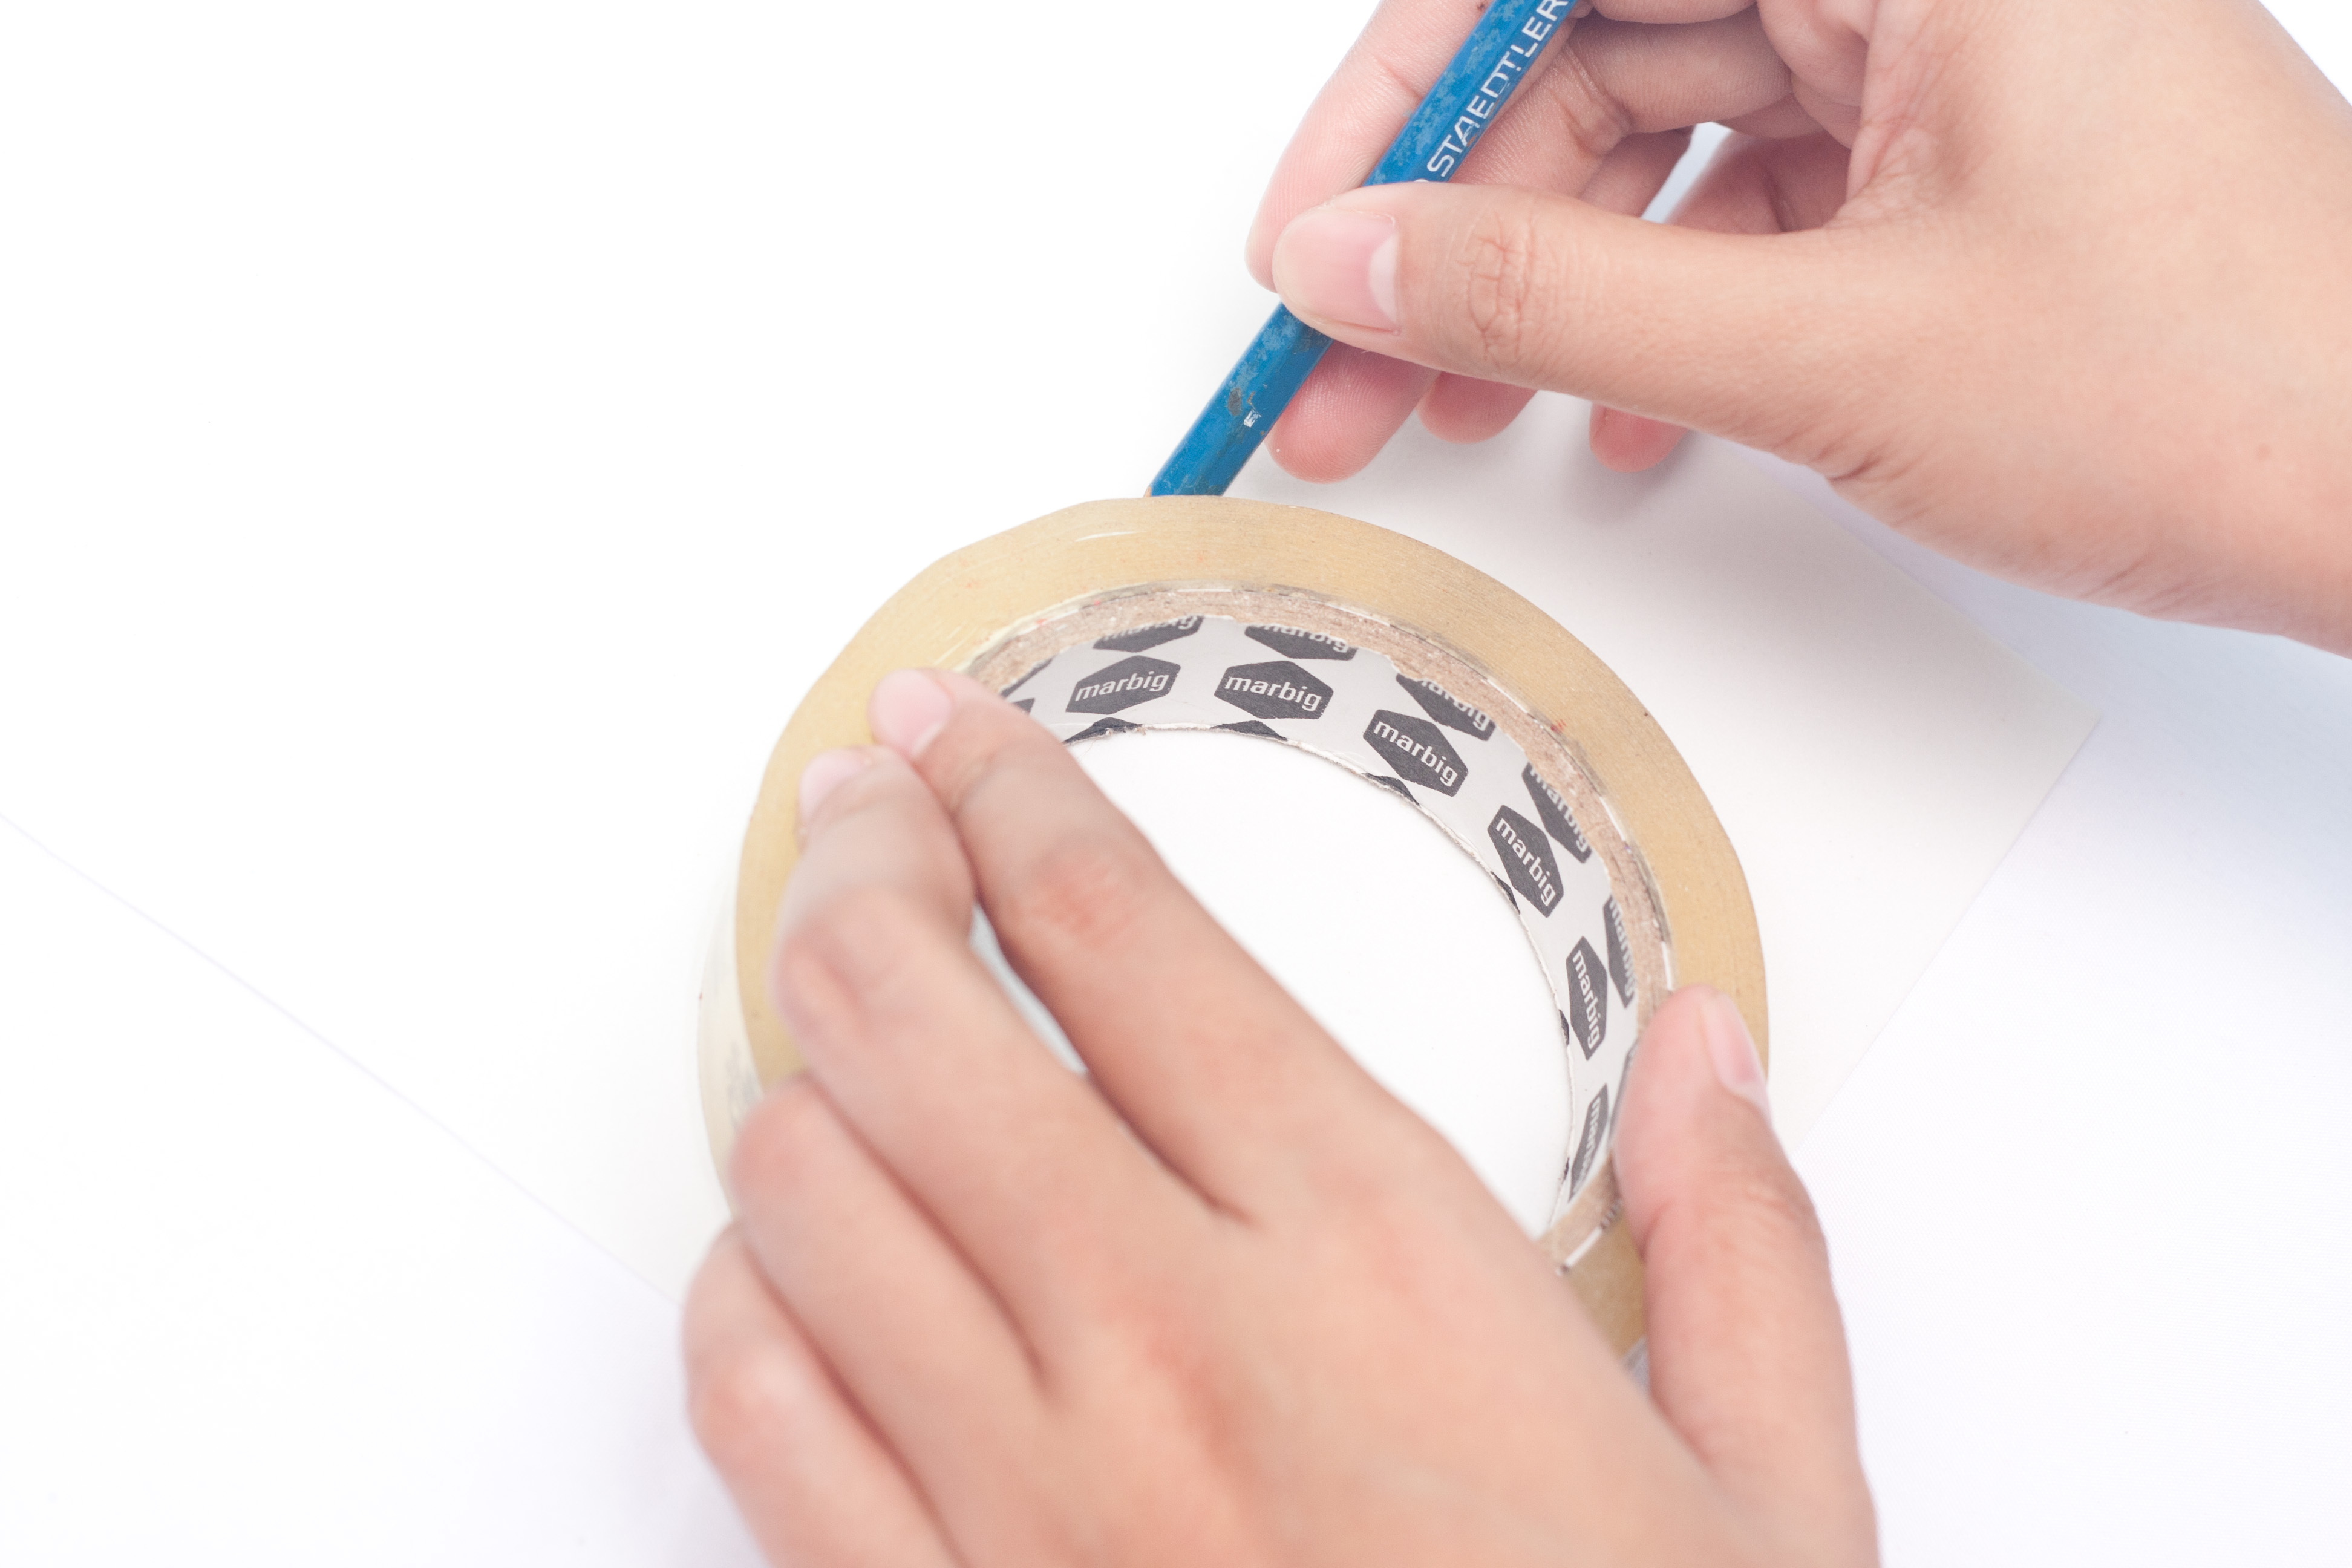
Step 2: (door decor photo 2) Trace two circles on a piece of white sponge paper. Take note that one circle should be bigger than the other.
Step 3: (door decor photo 3) Cut both traced circles.

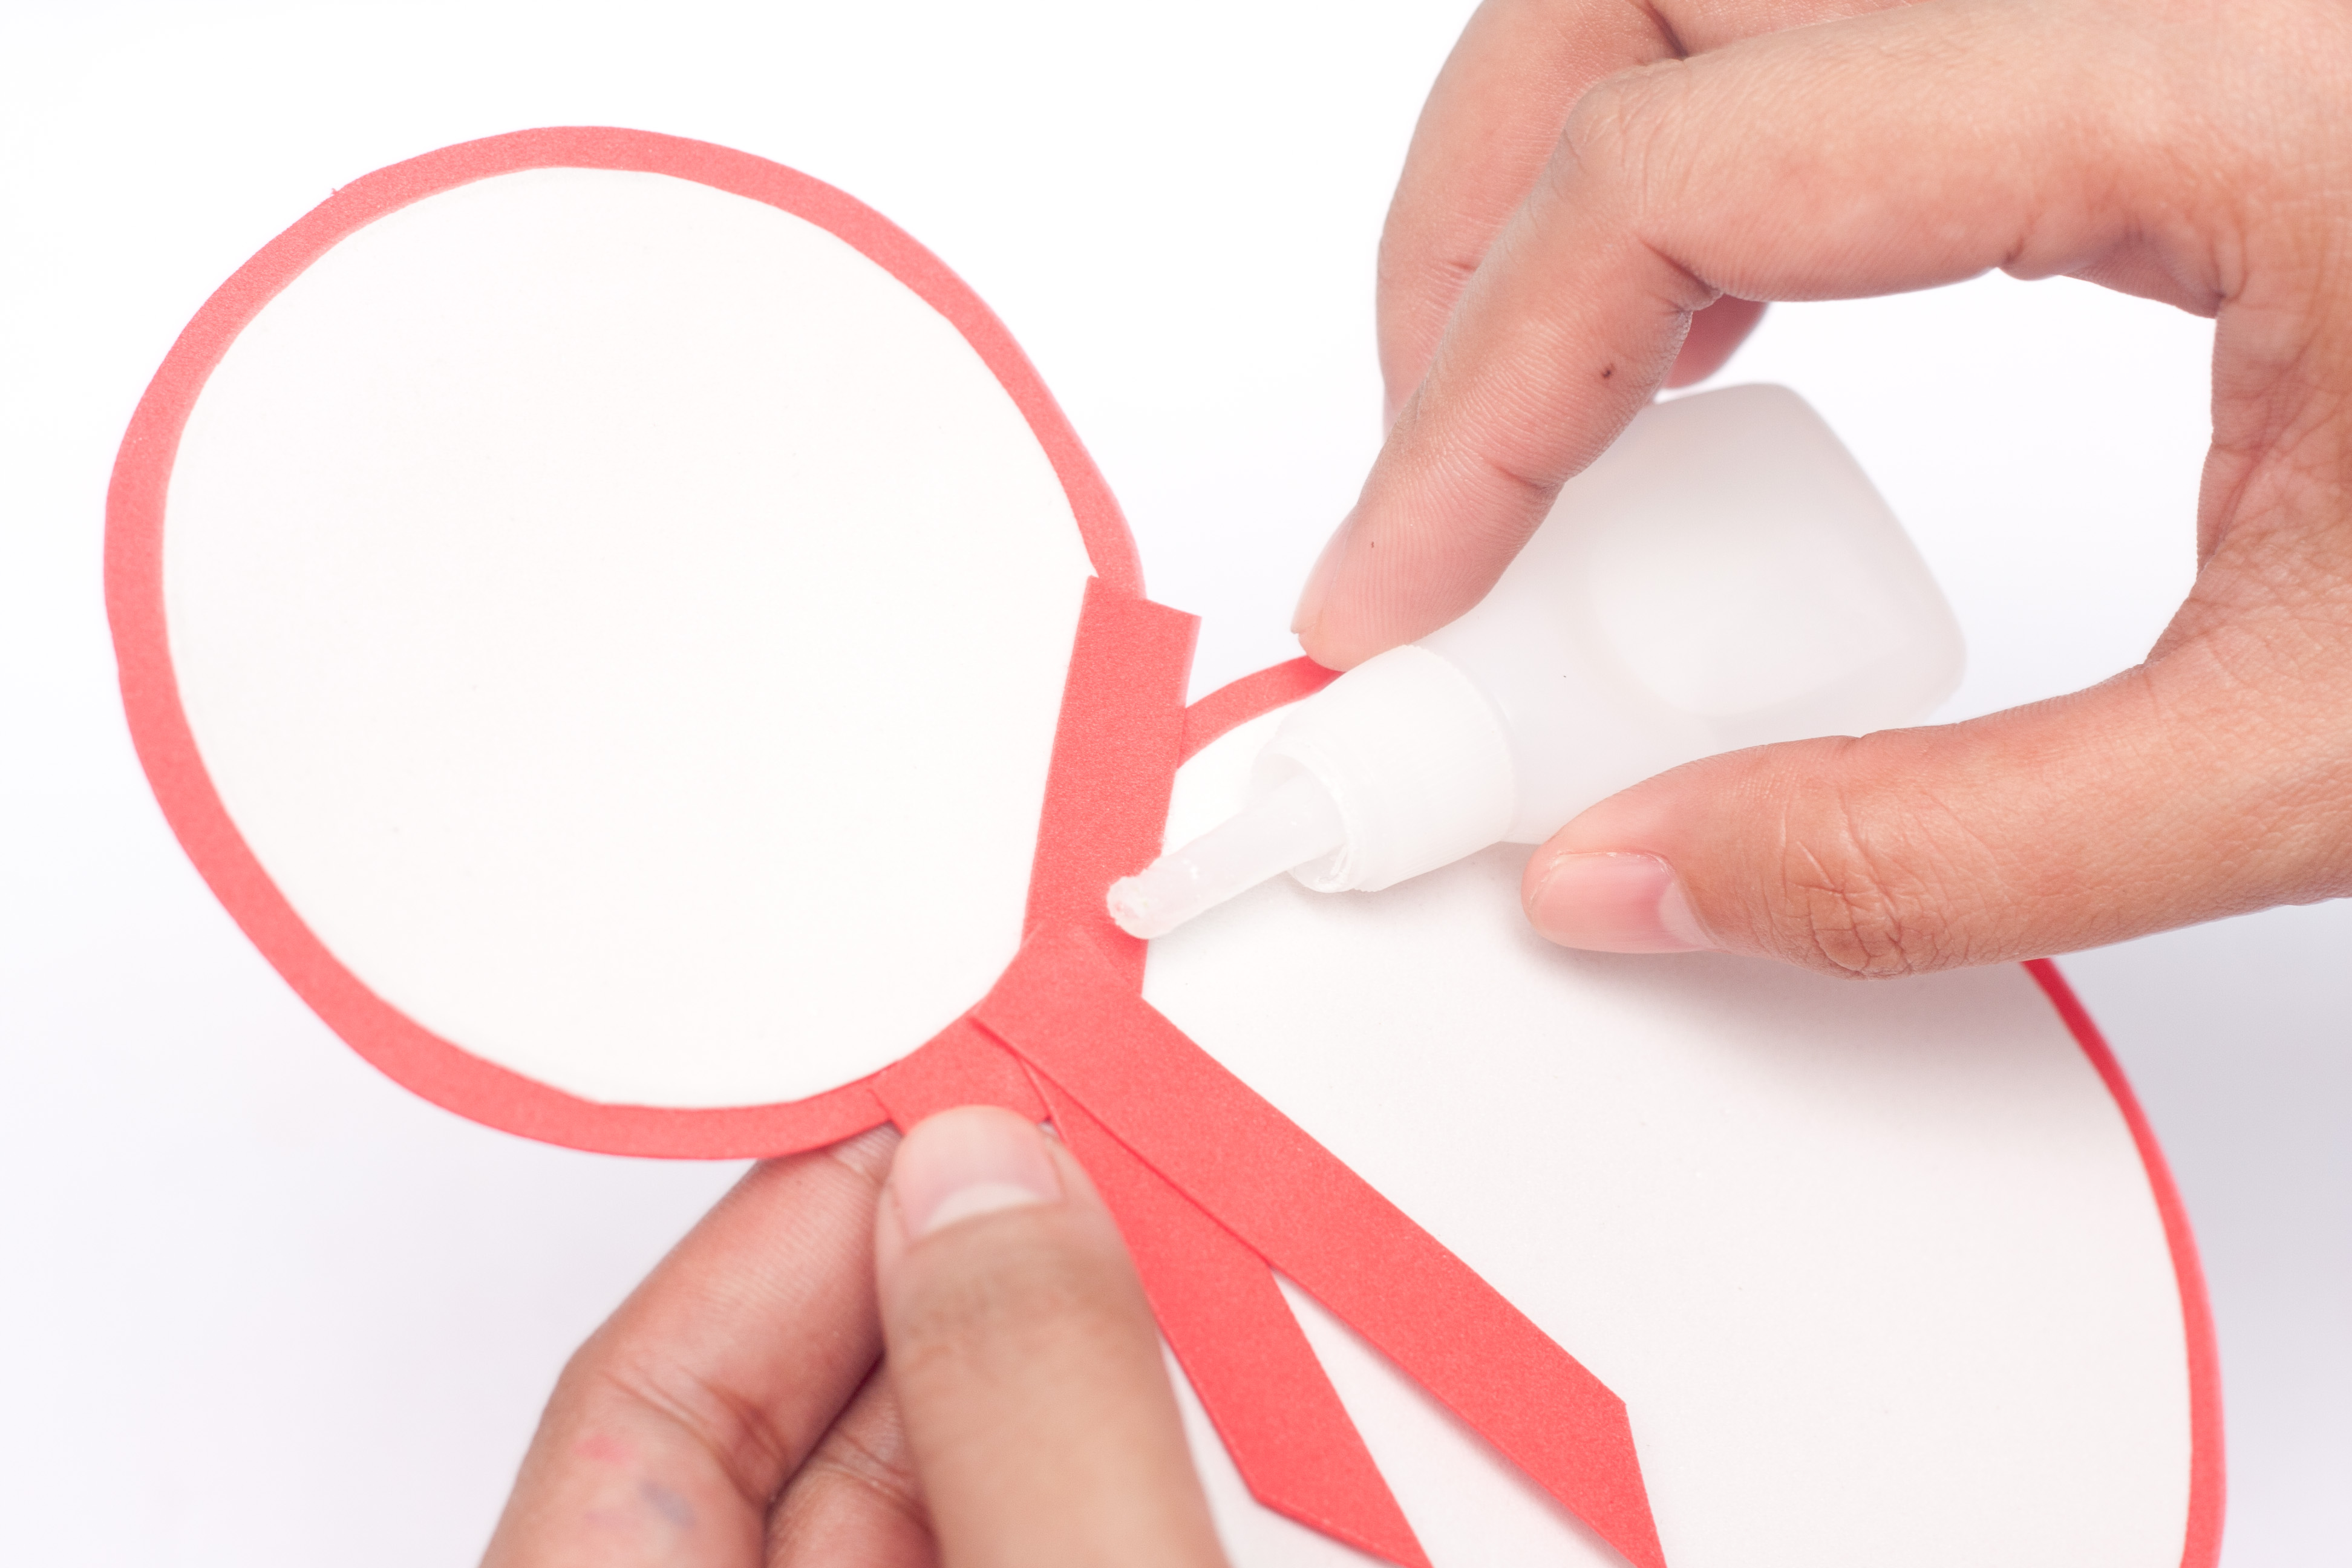
Step 4: (door decor photo 4) Concrete glue both circles on a piece of red sponge paper. The two should stick side-by-side to form the whole snowman figure.

Step 5: (door decor photo 5) Cut the red sponge paper but make sure that you have a small excess border on it. This should highlight the white body of the snowman.

Step 6: (door decor photo 6) Cut a strip of red sponge paper and glue it on the neck of the snowman, creating a wrapped neck effect. This is his scarf.
Step 7: (door decor photo 7) Glue the three black buttons just below the scarf of the snowman.

Step 8: (door decor photo 8) Add the eyes of the snowman on the head.

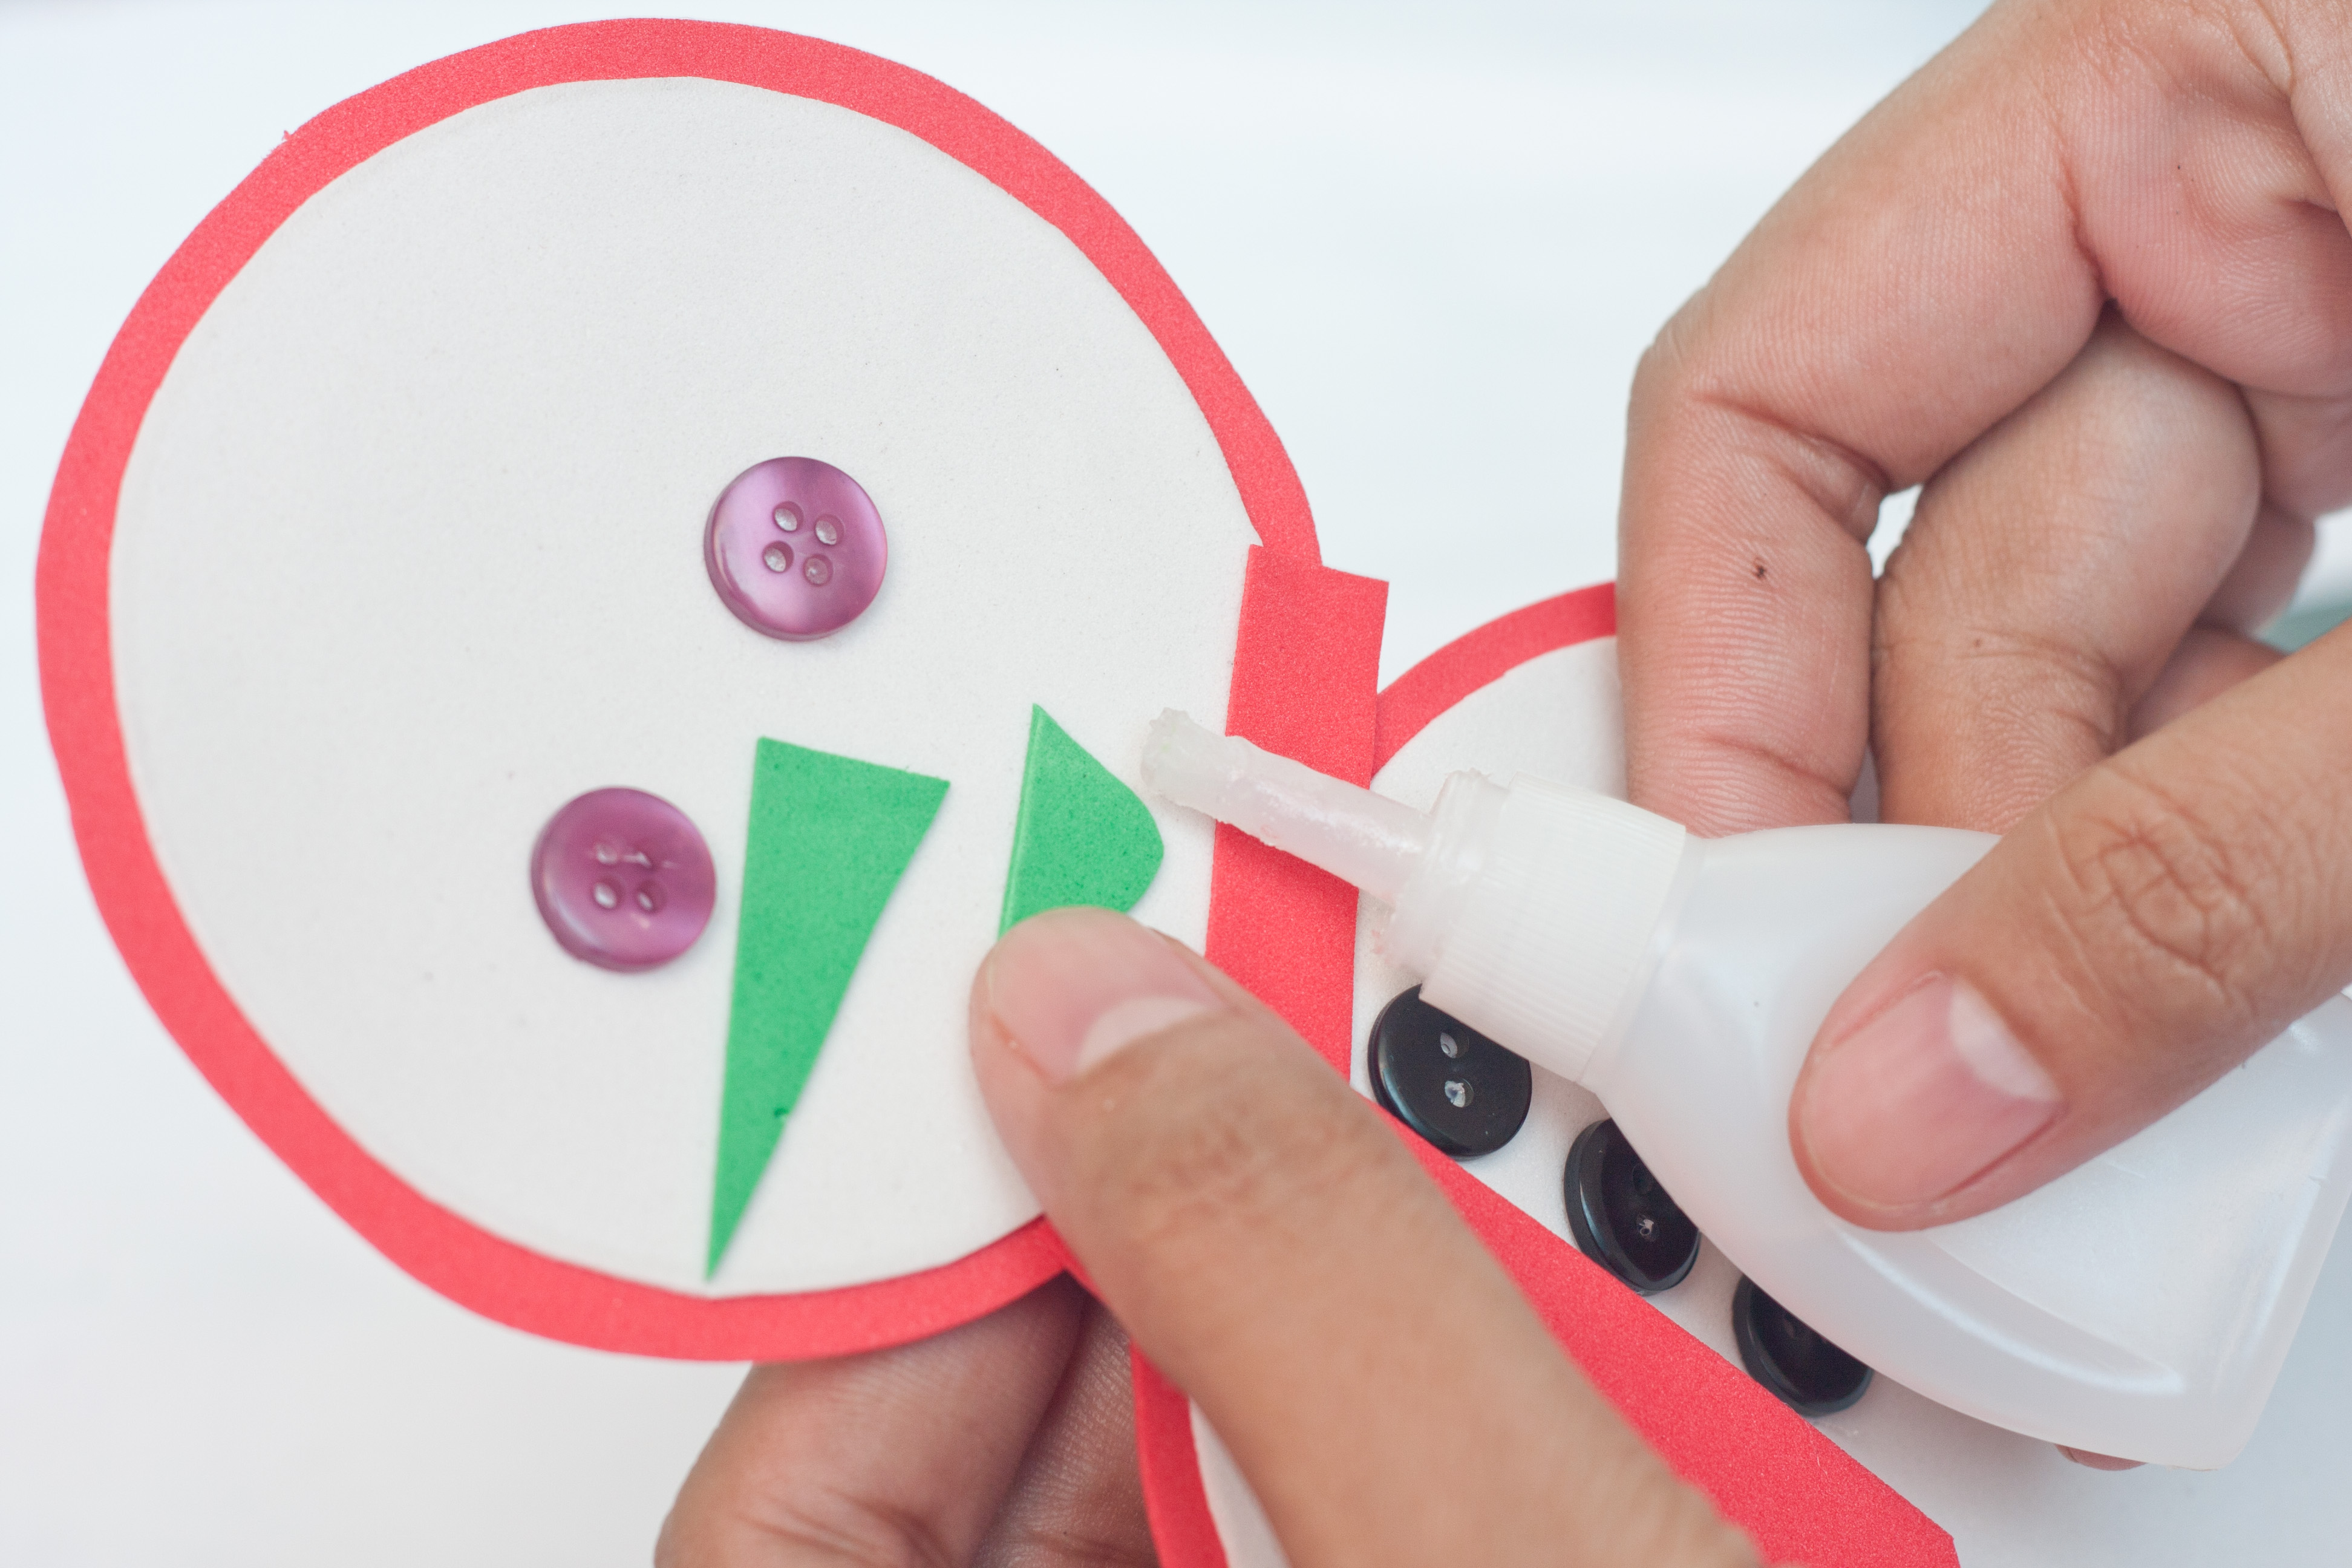
Step 9: (door decor photo 9) Cut and glue a piece of pointed triangle using the green sponge paper. Place it on the center of the face just below the eyes. This is his nose.

Step 10: (door decor photo 10) Add a smile from a piece of green sponge paper. Glue this just below the nose.
Step 11: (door decor photo 11) Using the light blue sponge paper, cut the hat of the snowman.

Step 12: (door decor photo 12) Cut a strip of green sponge paper and glue it on top of the hat brim.
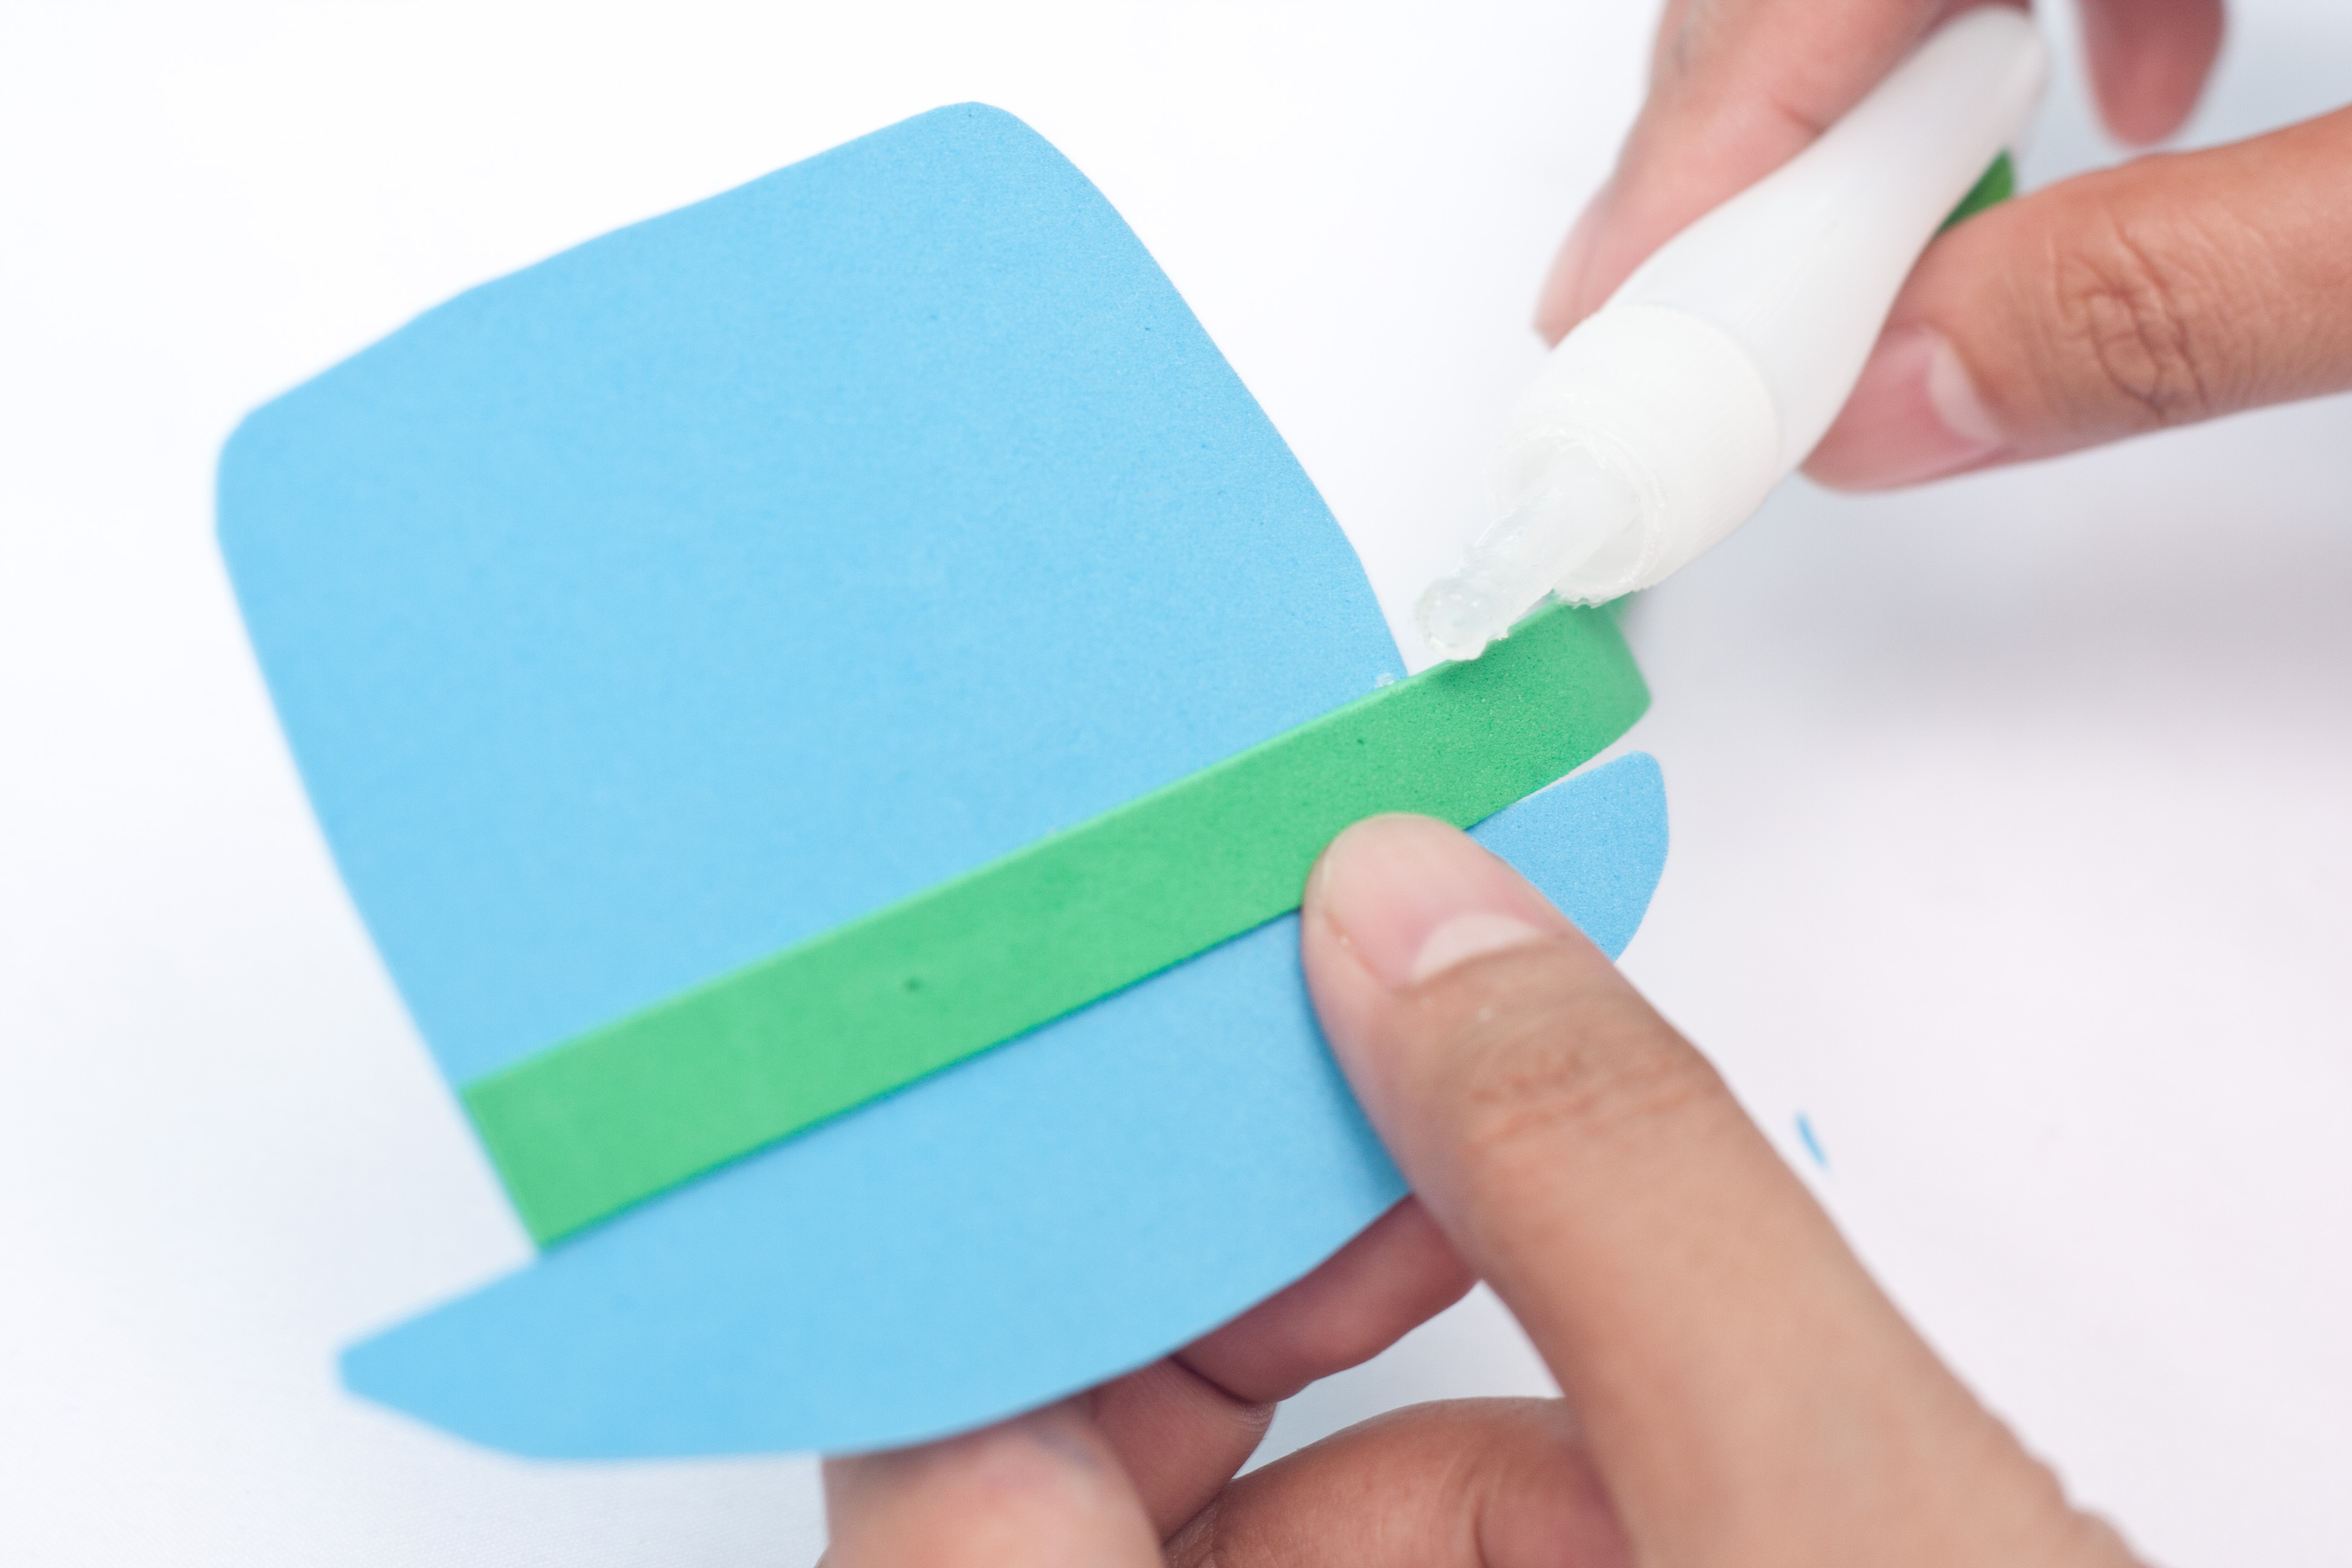
Step 13: (door decor photo 13) Cut the excess material off the green strip.

Step 14: (door decor photo 14) Glue the hat on top of the snowman’s head.

Step 15: (door decor photo 15) Cut a piece of ribbon, then fix it on the top part of the hat, just behind it. Secure it thoroughly using hot glue.

Step 16: (door decor photo 16) You are finally done with your snowman wall décor.

Step 17: (door decor photo 17) You can now hang it on the front of your door.

You can adjust the size of the snowman wall décor if you want a bigger version of this one. We just used light materials so it withstands the force of banging a door often. You can also keep this and use it annually since you can easily clean this based on the material used. Hope you enjoy making this!