
Make a 3D Christmas Card
Are you planning to give an old-style card this Christmas? Then why not impress your other half or your friends with this 3D Christmas card? This is a fun and easy activity that is worth your time and money. The more you personalize the better! The receiver of this card will appreciate your effort. So let’s do this!
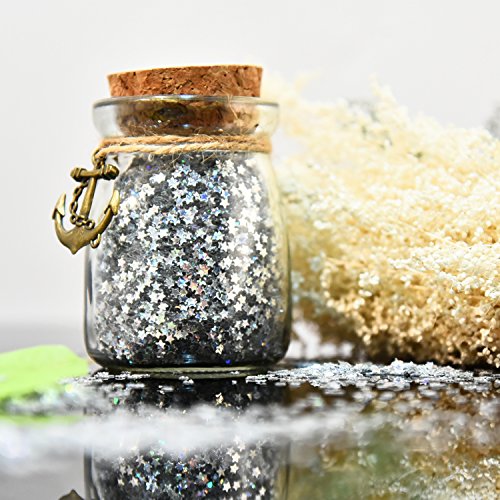
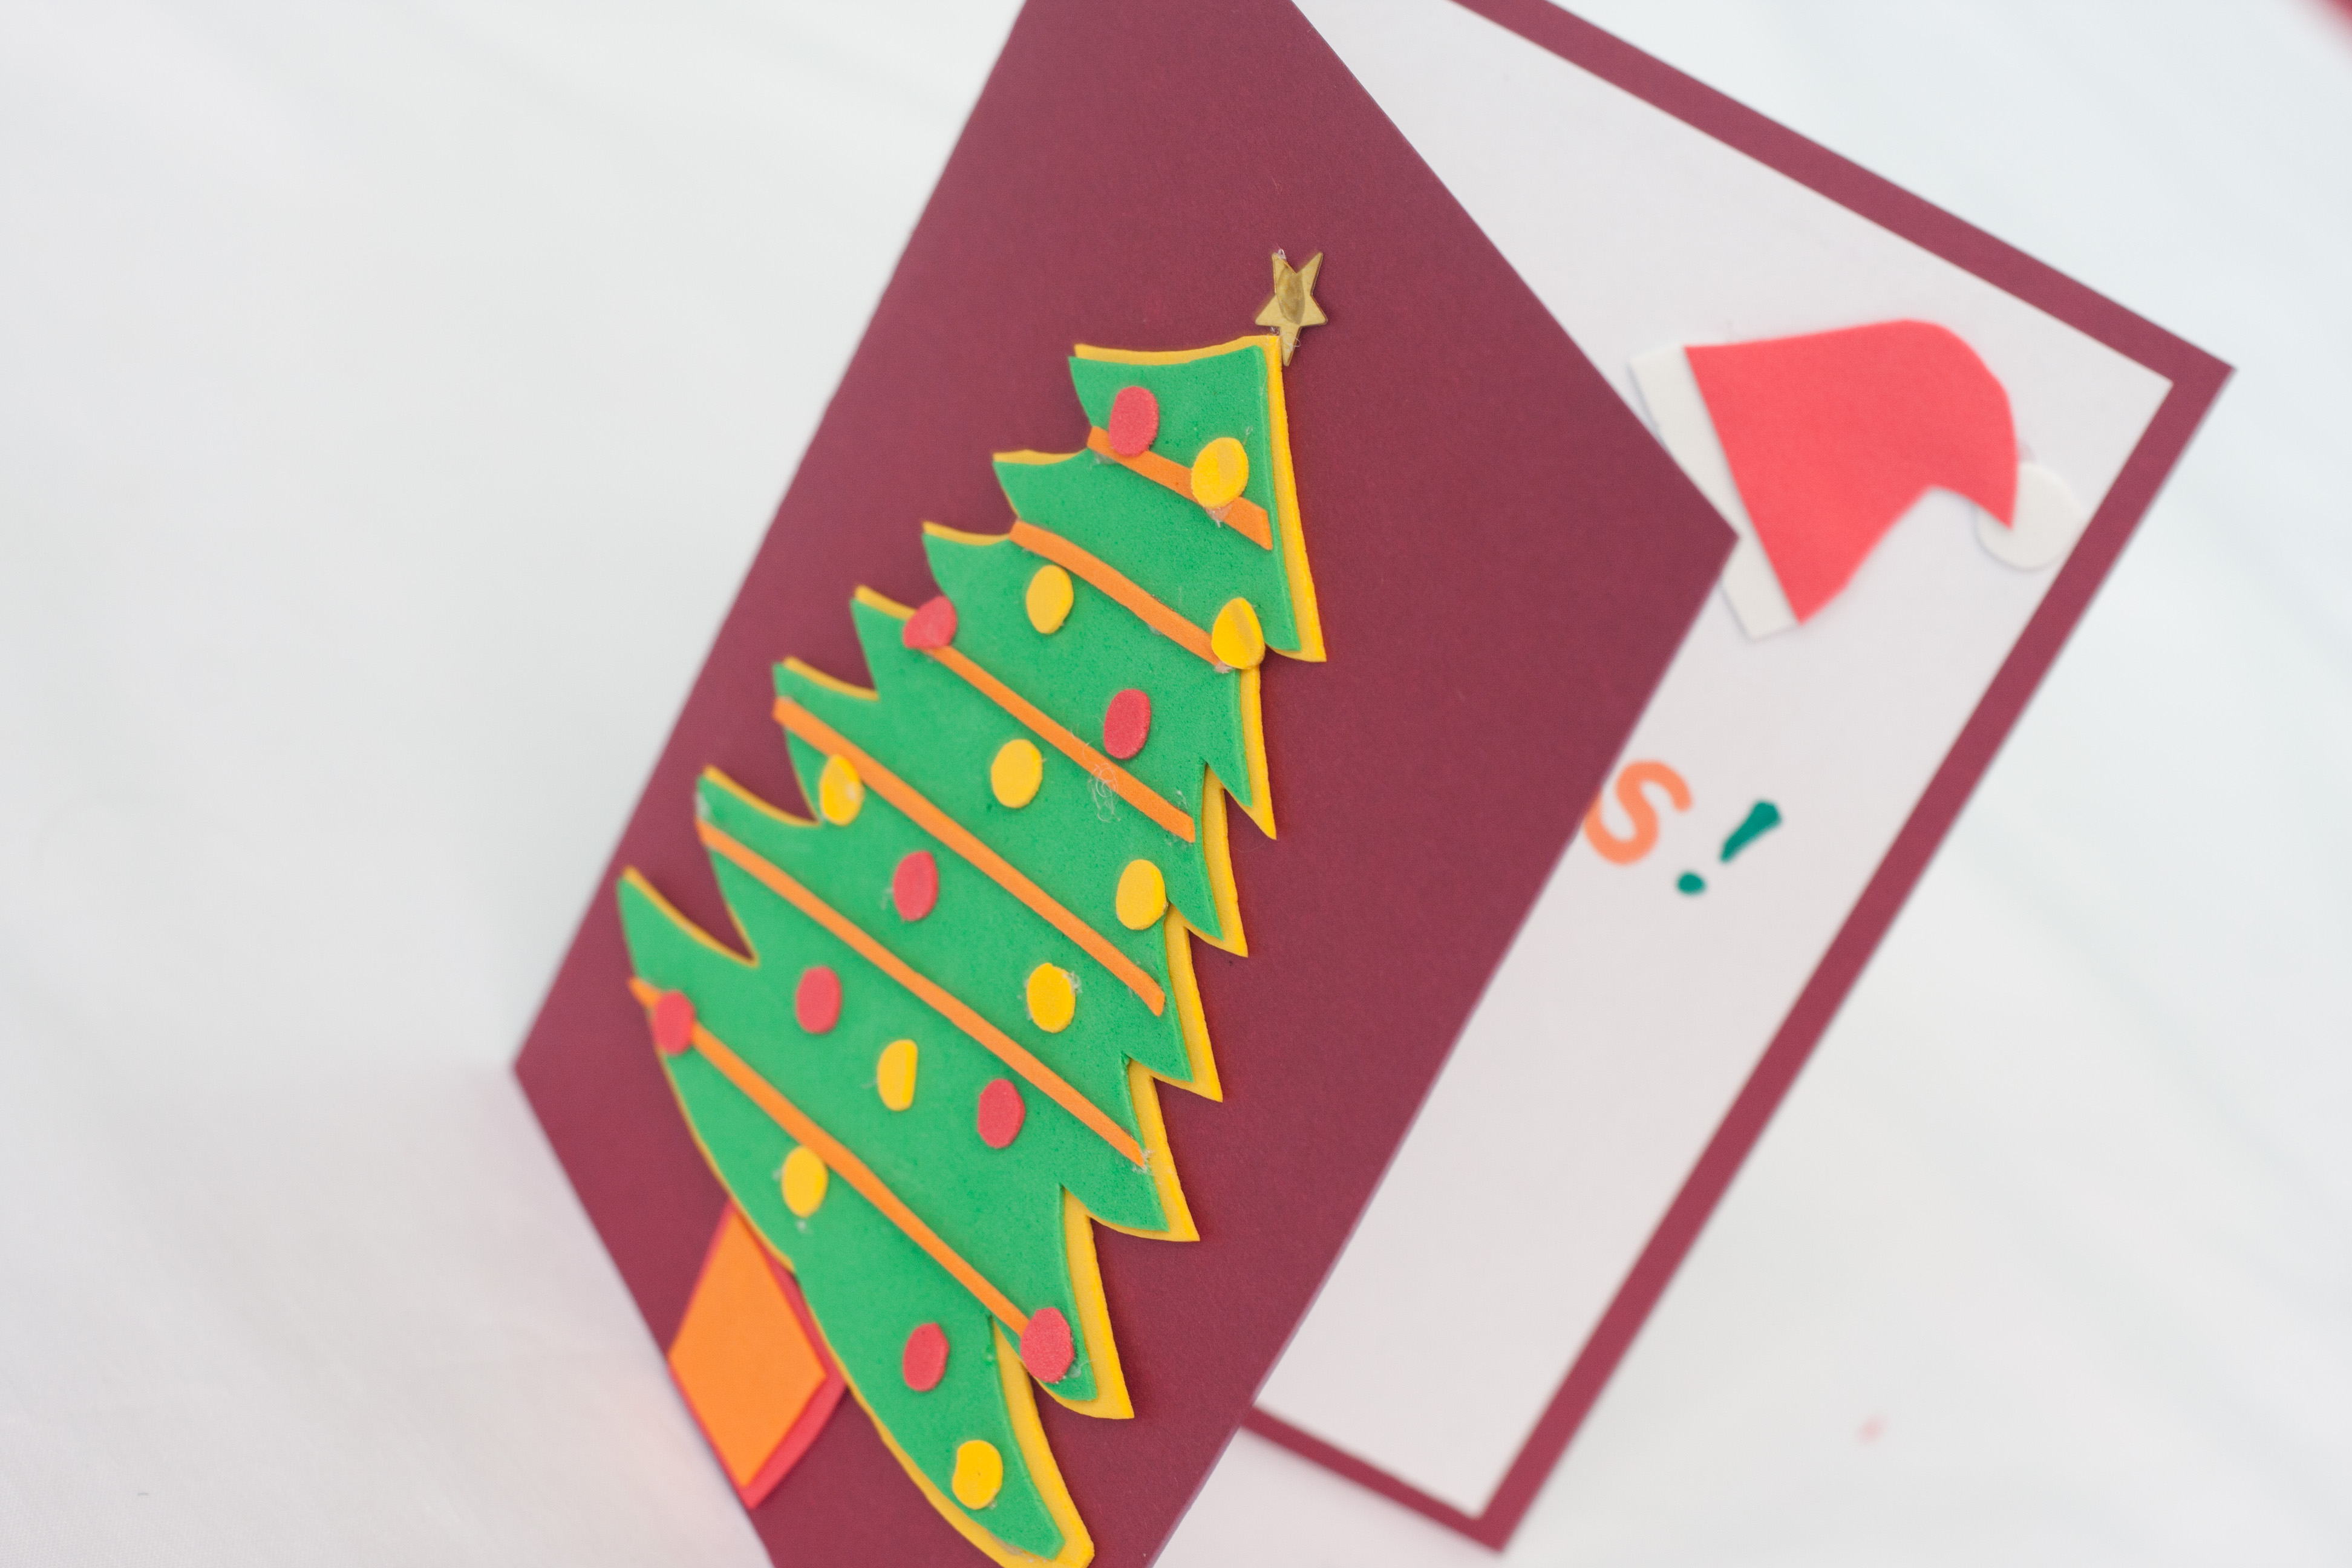
Step 1: (card photo 1) Prepare all the materials from the list below:

Yellow, green, orange, red and white sponge paper

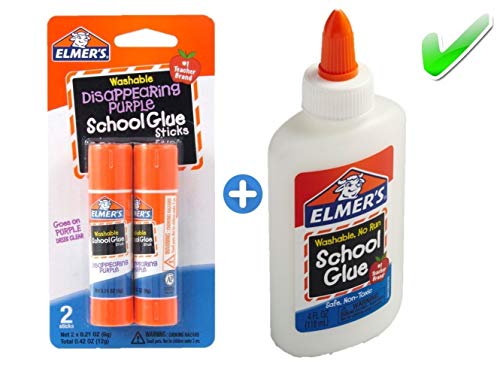
Hot glue

Concrete glue
Scissors
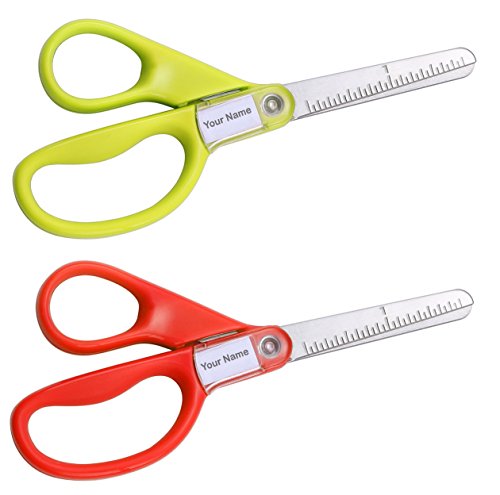
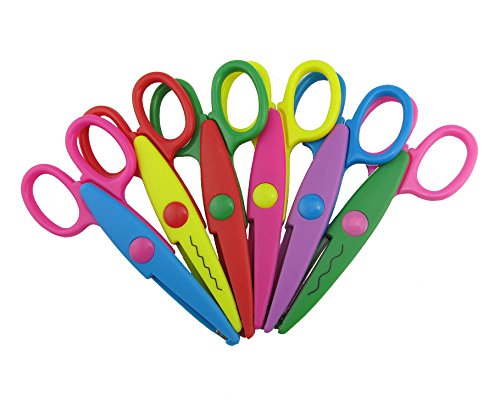
Craft scissors
Pen
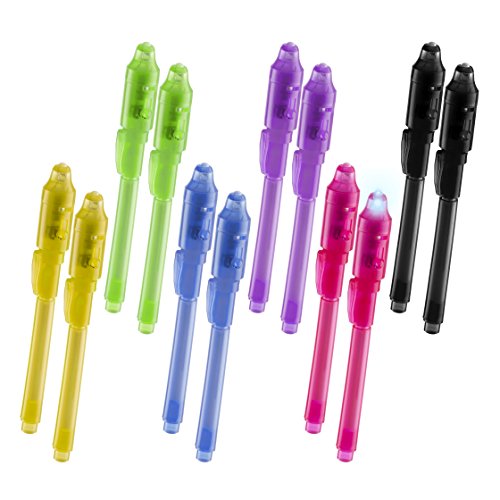
Pencil
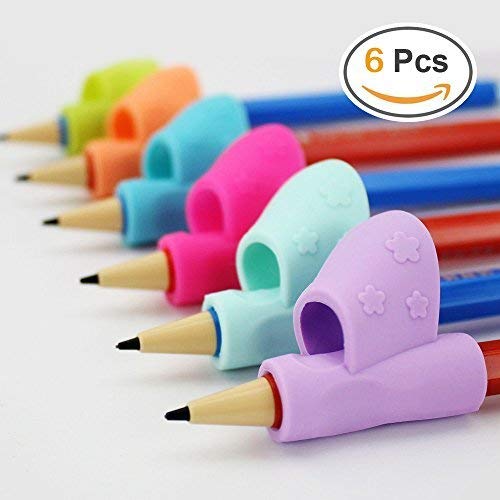
Colored pens or Sharpie

Colored cardboard
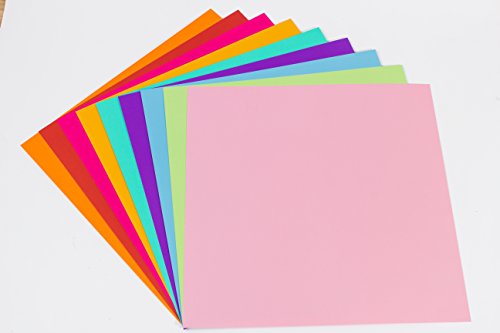
A paper star

A small decorative paper star (such as a confetti star or a garland star)
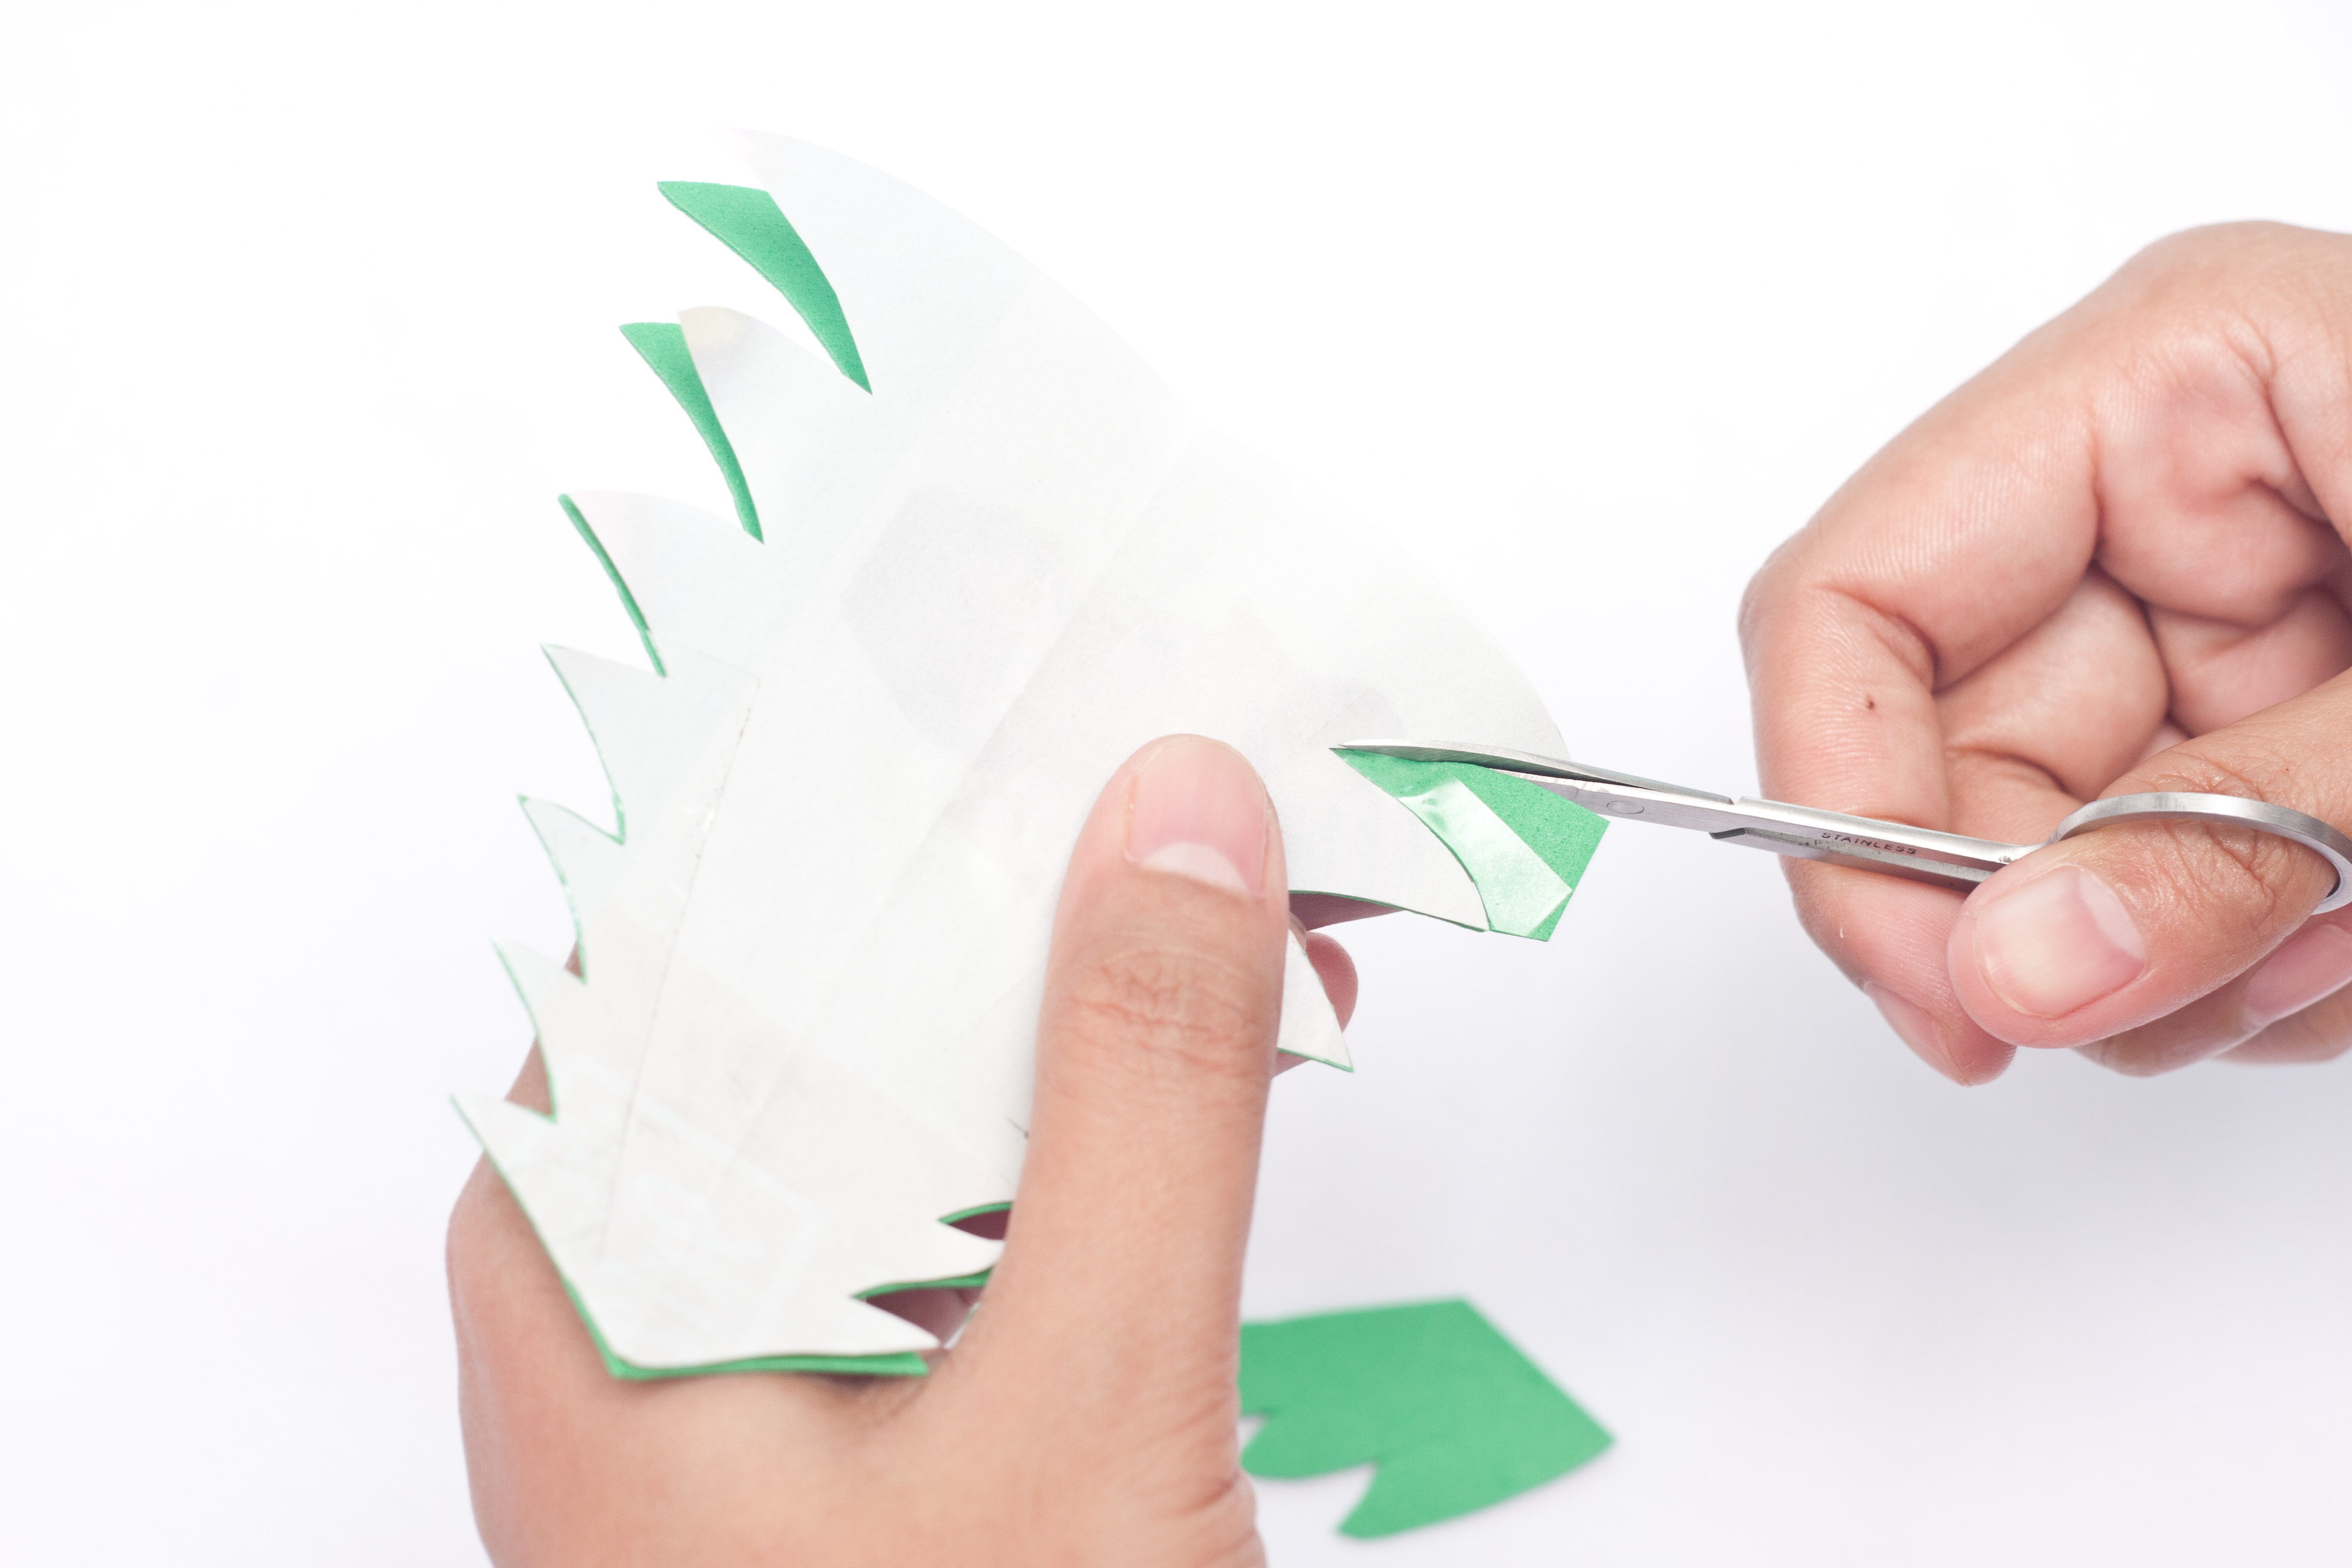
Step 2: (card photo 2) On a piece of white paper, draw your Christmas tree pattern.

Step 3: (card photo 3) Cut your pattern.

Step 4: (card photo 4) Get your cardboard then equally fold this crosswise.

Step 5: (card photo 5) Get your white paper then measure this on the dimension of the cardboard. Be sure to leave at least 1 centimeter on all sides. Cut this and glue the white paper on the inner part of the cardboard.

Step 6: (card photo 6) Cut your green sponge in reference to your Christmas tree pattern.
Step 7: (card photo 7) Using the green sponge Christmas tree, cut the yellow sponge but make sure that this is 1 centimeter bigger than the green one. This will highlight the Christmas tree, giving it a 3D effect.

Step 8: (card photo 8) Concrete glue the yellow sponge to the green Christmas tree sponge. Afterward, fix this on the front of the card using hot glue.

Step 9: (card photo 9) Hot glue the star on top of the Christmas tree.

Step 10: (card photo 10) Cut several thin strips of yellow sponge. Then diagonally glue it across the Christmas tree. These will be the garland of the Christmas tree.

Step 11: (card photo 11) Cut several small circles from the red and yellow sponge paper. This will be the Christmas balls of the tree.

Step 12: (card photo 12) Cut a pot-shape from the orange sponge. Then cut another pot-shape from the red sponge but this one will be bigger than the orange one. Glue this together.

Step 13: (card photo 13) Put the pot-shape on the bottom of the tree. This will be the base of the tree.

Step 14: (card photo 14) Form a Santa hat from the red sponge. Also cut a white lining and a small circle, then stick it on the bottom, for the lining and the circle on top for the pompom of the hat.

Step 15: (card photo 15) Glue the Santa hat on the inner part of the card. Here we placed it on the upper right hand corner of the card.

Step 16: (card photo 16) Using your colorful pens, you can now write your holiday message inside the card.

Step 17: (card photo 17) Finally done! You can now give you card to your special someone!
You can also put your 3D Christmas card in an envelope for added excitement. Be personal as much as possible so that your personality can be seen on the card. Much better if you put and write things that come from the heart. Remember! It’s the thought that really means a lot!